
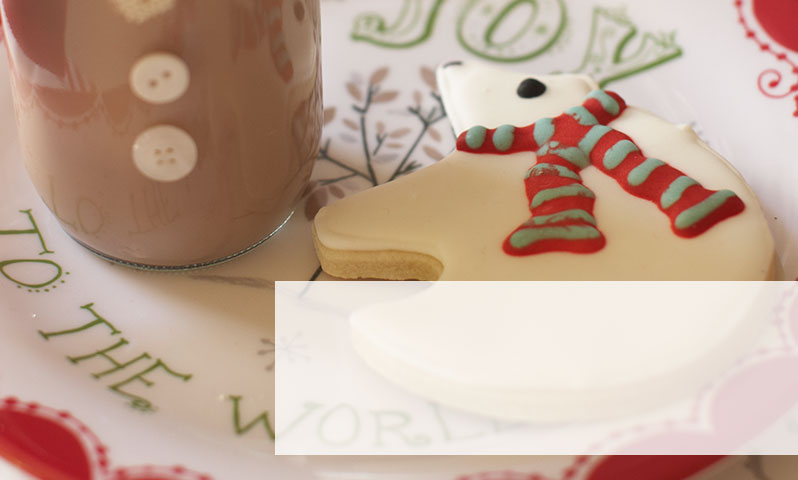
Polar Bear Cookies
Shaped cookies are a holiday tradition because they’re fun to cut out, decorate and exchange with family and friends. These polar bear cookies are especially delicious and can be decorated with a variety of colors and designs.
Ingredients: Cookies
- 2 ½ cups all purpose flour
- ½ teaspoon baking soda
- ¼ teaspoon salt
- 1 cup granulated sugar
- 10 tablespoons butter, softened
- 1 ½ tablespoons vanilla extract
- 2 large egg whites
Ingredients: Icing
- 4 cups powdered sugar
- 2 tablespoons meringue powder
- 6 tablespoons water
- Food coloring
Special Equipment:
- Polar bear cookie cutters
- 12″ disposable pastry bags
- Decorating tips: #1-3
- Squeeze bottles
- Toothpicks
- Plastic wrap
- Parchment paper
Preparation: Cookies
- To make the cookies, combine flour, baking soda and salt in a bowl. Mix well with a whisk.
- In separate mixing bowl, combine sugar and butter; beat at medium speed until light and fluffy. Add in the vanilla and egg whites and once mixed, gradually add the flour mixture. Beat slowly and stop as soon as all ingredients are combined.
- Divide the dough in half. Shape each half into a ball and wrap in plastic wrap. Chill for one hour.
- Unwrap one chilled dough ball. Press it into a 4″ thick disk and it place atop heavy-duty plastic wrap. Cover the top of the disc with plastic wrap and roll dough to a ¼″ thickness. Repeat procedure with remaining dough ball. Chill dough for 30 min.
- Preheat oven to 375 degrees.
- Remove dough from the refrigerator and plastic wrap. Using a shaped cutter, cut dough into cookies. Place cookies 2 inches apart on baking sheets lined with parchment paper. Bake for 10 minutes or until lightly browned. Cool on pans for 5 minutes then place cookies on cooling racks.
Preparation: Icing
- To make the icing, mix sugar, meringue powder and water on a low speed for 7-10 minutes or until icing loses its shine. Add a teaspoon of water as needed to prevent stiffness.
- Divide icing into separate containers; mix in food coloring to create a variety of colors. Cover icing containers with a damp paper towel to prevent drying out.
- Outline the cookies using a disposable pastry bag and a #3 tip with whatever the base color will be.
- Once the outline has hardened, prepare to flood the center of cookie by liquefying the base color in a separate bowl. Gently stir in a few drops of water with a rubber spatula until the icing reaches an almost liquid consistency. Fill a squeeze bottle or disposable pastry bag with the thinned icing and use it to fill in the inside of the cookie. A toothpick can help distribute icing to any empty spots.
- Once the base icing has dried, decorate the cookies with other colors using disposable pastry bags and a variety of tip sizes.